Take Two

Galeria (57)
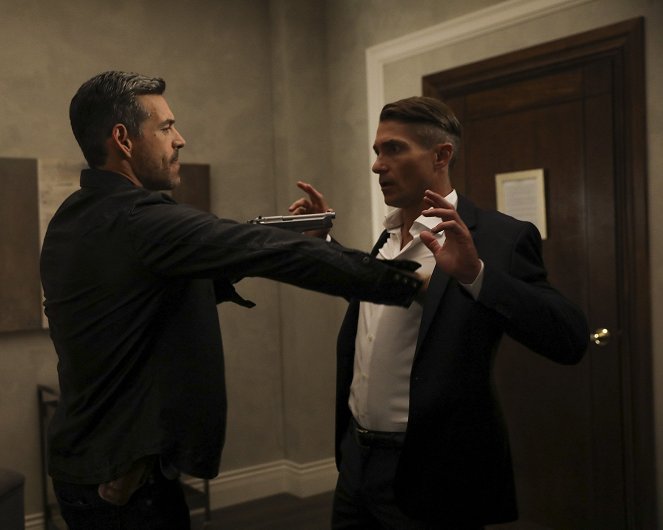
Photo © ABC / Jack Rowand
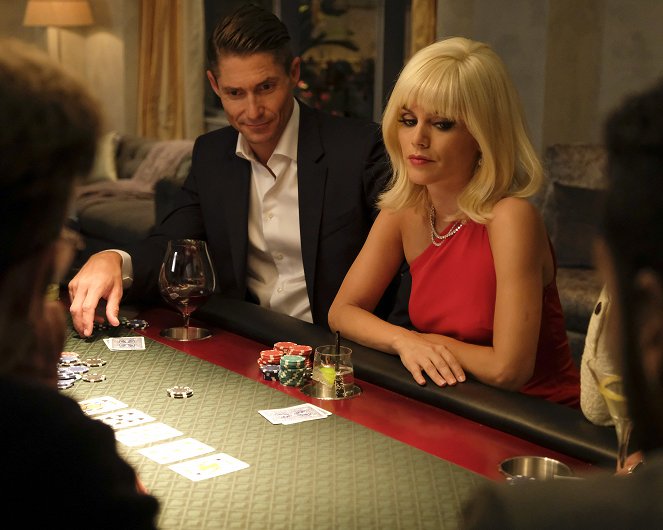
Photo © ABC / Jack Rowand

Photo © ABC / Jack Rowand
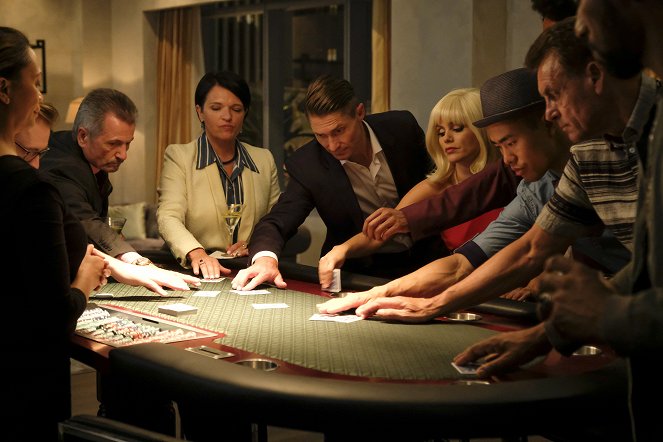
Photo © ABC / Jack Rowand
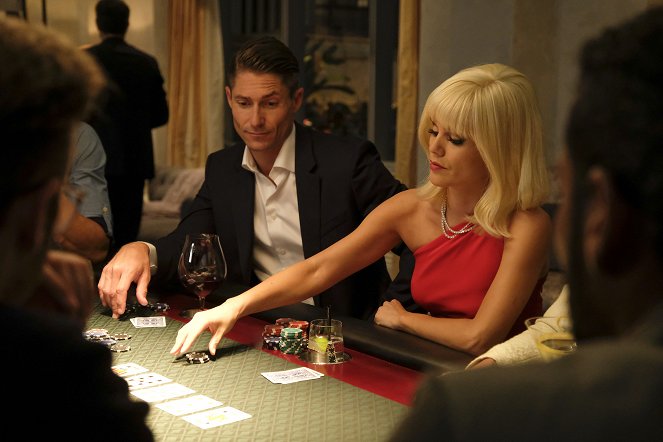
Photo © ABC / Jack Rowand

Photo © ABC / Jack Rowand
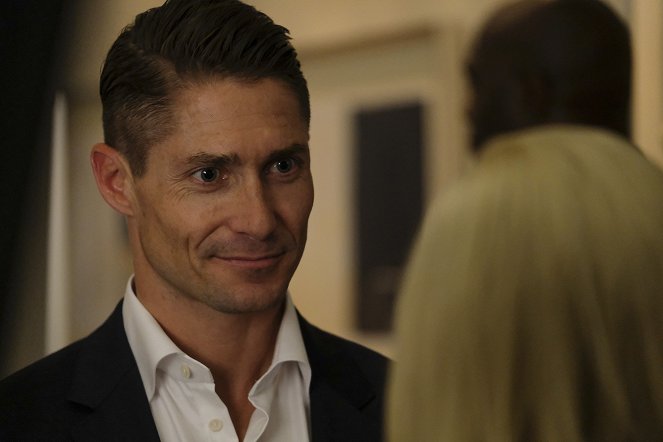
Photo © ABC / Jack Rowand
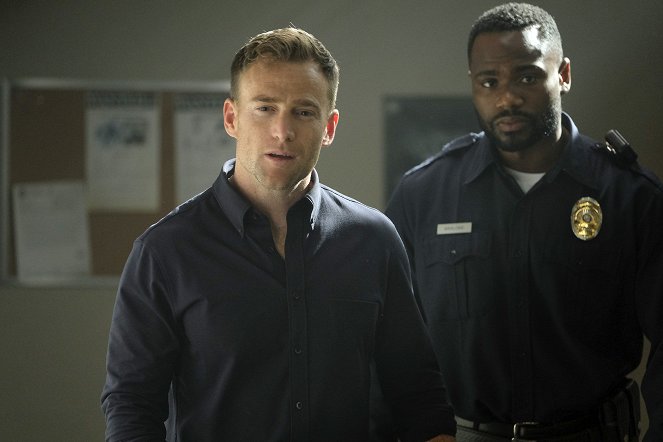
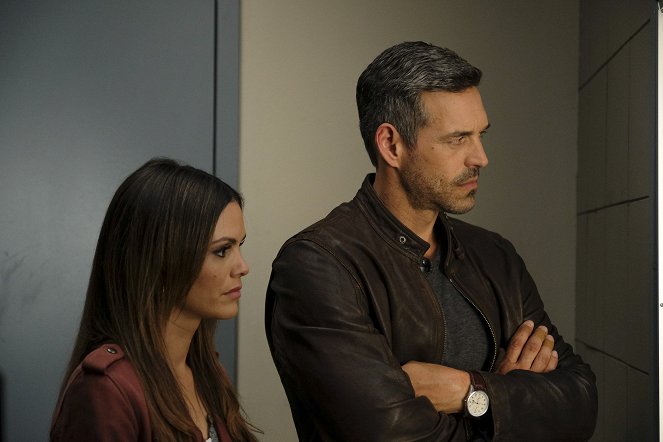
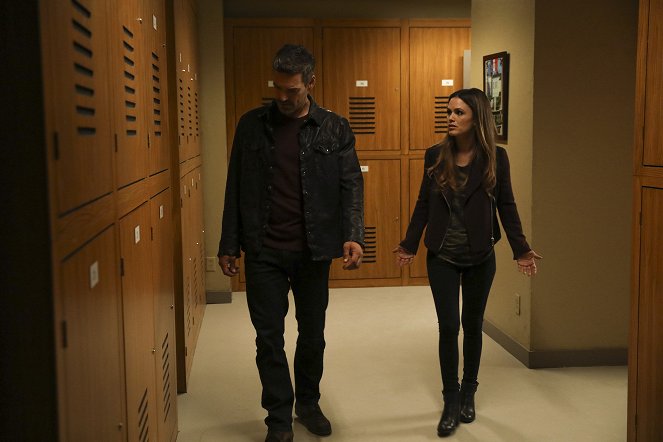
Photo © ABC / Jack Rowand